VPN Installation Guide: Windows (3 Steps)
Step 1: Download Ivanti Secure Access
Requires Windows 10 or higher. — What version of Windows do I have?
Download Ivanti Secure Access v22.8.3 (Windows 64-bit)
Download Ivanti Secure Access v22.8.3 (Windows ARM64-bit)
VPN Server URL: vpn.library.ucdavis.edu (step-by-step instructions below)
Step 2: Install Ivanti Secure Access on Windows
Please note that these instructions apply to multiple versions of Windows. The appearance of your own computer may differ slightly to the screenshots included below.
- Open the Ivanti Secure Access installation file. It will be named PulseSecure.x64.msi (64-bit) or PulseSecure.ARM64.msi depending on which version you chose.
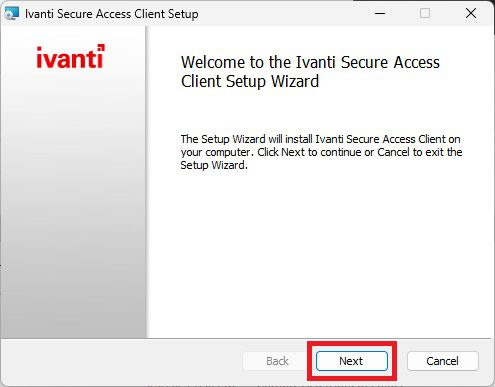
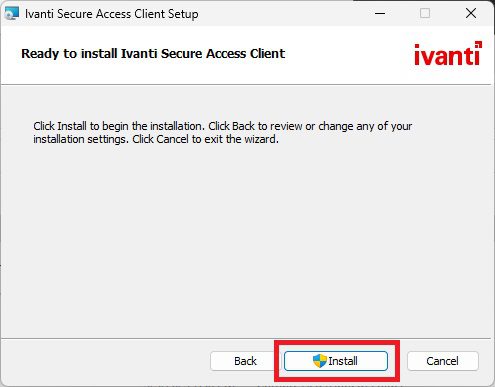
— Note: At this point, your device should prompt you if you accidentally downloaded the wrong bit version. - In the Ivanti Secure Access Installation Wizard, select Next and Install.

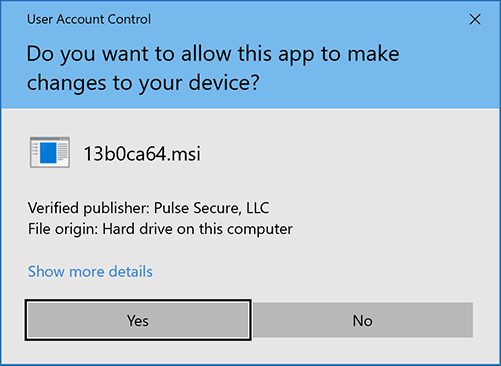
- If you are asked if you want to make changes to your device, select Yes.
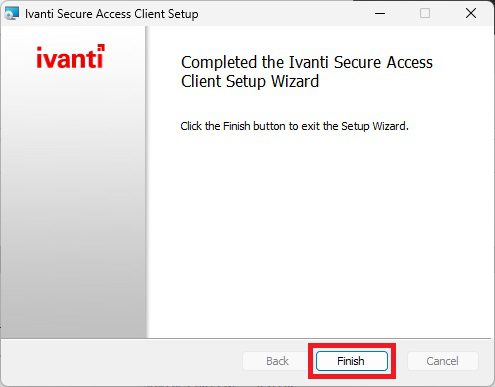
- When the installation is complete, select Finish to exit the Setup Wizard.
Ivanti Secure Access is now installed! Next, let’s configure it to connect to the library VPN.
Step 3: Configure Ivanti Secure Access to Connect to the Library VPN
Please note that these instructions apply to multiple versions of Windows. The appearance of your own computer may differ slightly to the screenshots included below.
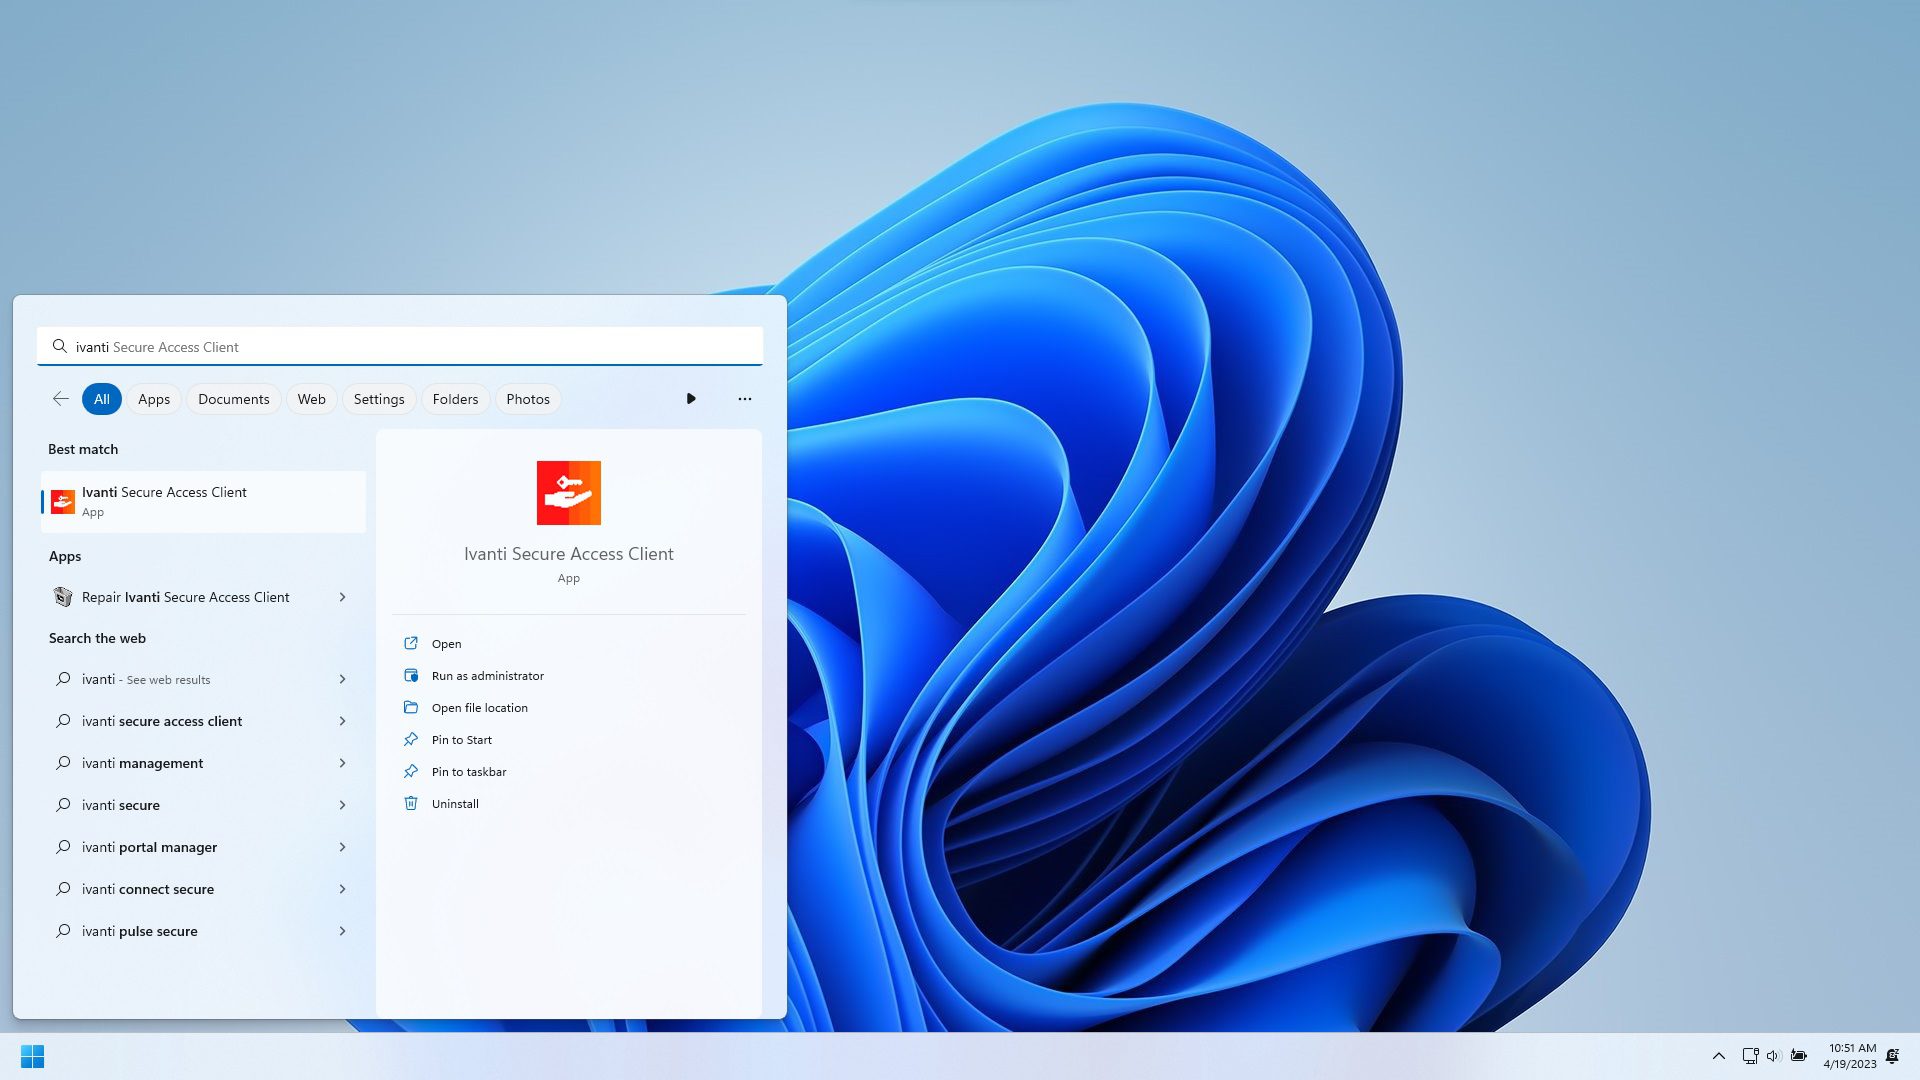
- Use the Start Menu to locate and open Ivanti Secure Access.
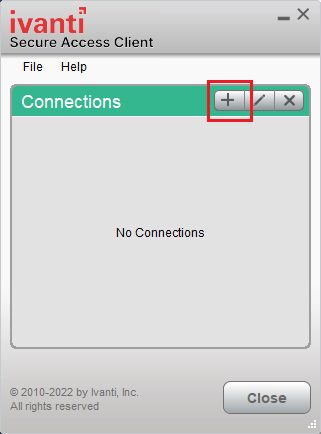
- Select the Plus symbol to add a new connection.
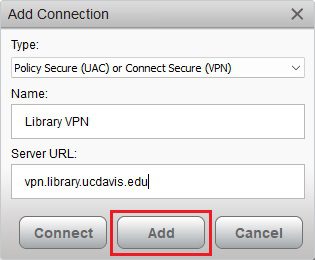
- Enter the following VPN connection information and then select Add to save the connection.
Type: (do not change this setting)
Name: Library VPN (or another name of your choosing)
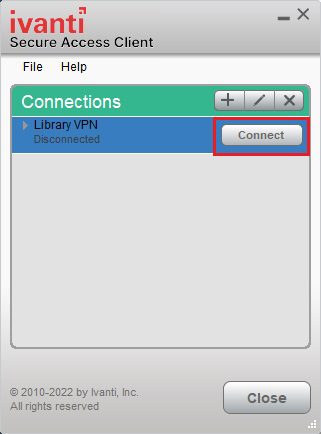
Server URL: vpn.library.ucdavis.edu - “Library VPN” will now appear as an option in your Connections list. Select Connect to open the connection.
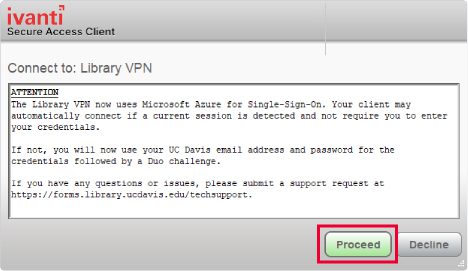
- When a single-sign-in notice appears, select the Proceed button. A Microsoft sign-in box will appear. Enter your UC Davis email address and then sign in using your UC Davis credentials. You will then be asked to authenticate using Duo (see our Library VPN FAQ for Duo authentication options). Note: UCDH users that have an @health.ucdavis.edu email account MUST use their @ucdavis.edu email address for Library VPN authentication. The @health.ucdavis.edu address will not work.
- A green checkmark will appear in your Connections list once the connection is successful.
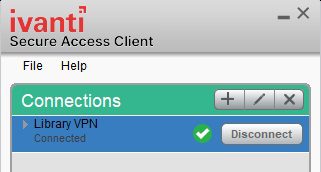
Congratulations, you are now connected to the library VPN and have access to all of the library’s online resources!